
Short answer: the best first-trip checklist is one you can repeat in the same order every time. Start inside, work around the exterior in one direction, complete the hitch and electrical checks, then finish with a slow pull-forward and brake test. A routine prevents missed steps better than relying on memory.
That need appears repeatedly in current beginner discussions. Recent first-time RV owner and first RV family threads ask what is truly essential, while a popular printable pre-trip checklist discussion recommends a laminated routine. Reddit suggestions are useful prompts, but your RV, tow-vehicle, hitch and appliance manuals control the exact procedure.
This list cannot cover every motorhome, travel trailer, fifth wheel, brake controller, weight-distribution hitch or appliance. Add the model-specific steps from your manuals and remove nothing that a manufacturer requires.
Inside the RV: start before closing the door
- Secure loose items. Store cookware, electronics and anything that could fall or become a projectile.
- Close cabinets and drawers. Latch every door, including the refrigerator as required.
- Retract slides. Follow the manufacturer’s sequence and visually confirm seals and clearance.
- Retract roof equipment. Close vents, antennas and awnings; remove exterior accessories that are not travel-rated.
- Turn off or configure appliances. Follow the RV and appliance instructions for travel mode, propane and power.
- Check people and pets. Everyone should be in an approved travel position in the tow vehicle or motorhome.
Exterior walk-around: move in one direction
- Disconnect hookups. Unplug shore power, disconnect water and sewer, cap connections and store hoses and cords.
- Close exterior doors. Lock baggage compartments, outdoor kitchens and service panels.
- Inspect tires and wheels. Check cold pressure, tread, sidewalls, valve stems and visible lug or hub issues.
- Look underneath. Confirm no blocks, tools, leaks, cables or obstacles remain under the RV.
- Retrieve leveling equipment. Fully retract jacks and stabilizers and store pads or blocks.
- Verify steps and handrails. Retract and latch them before moving.
- Check clearance. Look up for branches and around both sides for posts, picnic tables and neighboring vehicles.
Hitch and connection check
- Confirm coupler or fifth-wheel engagement. Use the hitch manufacturer’s visual and physical checks.
- Install the locking device. Secure the latch or pin mechanism as specified.
- Attach safety chains correctly. Maintain adequate turning clearance without dragging.
- Connect the breakaway cable. Route it independently as instructed so it cannot snag or activate accidentally.
- Connect the electrical plug. Seat and secure it with enough slack for turns.
- Set weight-distribution or sway equipment. Follow the manufacturer’s measurements and sequence.
- Raise the tongue or landing gear. Confirm full travel position and stow handles or pins.
Lights, mirrors and visibility
- Test all trailer lights. Verify running, brake, turn and hazard lights with a helper.
- Adjust tow mirrors. Confirm a useful view down both sides of the trailer.
- Test the rear camera. Check charge, mount, angle, monitor and signal before entering traffic.
- Confirm TPMS readings. Every expected wheel position should report correctly.
- Clear the route. Plan the first turn and ensure no person, pet, chock or object remains near the rig.
The final two checks before the road
- Pull forward a few feet and stop. Recheck the campsite for forgotten gear, leaks or anything that moved.
- Test the brakes at low speed. In a safe area, confirm the tow vehicle and trailer brakes respond as expected before normal traffic.
That completes 25 checks. The NHTSA summer driving guidance also emphasizes tires, heat, vehicle readiness and emergency preparation—good reminders for any RV departure routine.
Make the checklist easier to follow
Use the same walk-around direction and assign one person as the final checker. If someone interrupts, return to the last confirmed item instead of guessing where you stopped. A small physical marker on the steering wheel can remind the driver that departure checks are not finished.
- Keep the checklist near the driver’s seat, not buried in a storage compartment.
- Add model-specific torque, hitch and appliance checks from the manuals.
- Record recurring maintenance separately so the departure list stays short enough to use.
- Review the list after the first trip and add any step you nearly missed.
How AOMOSUR tools support the routine
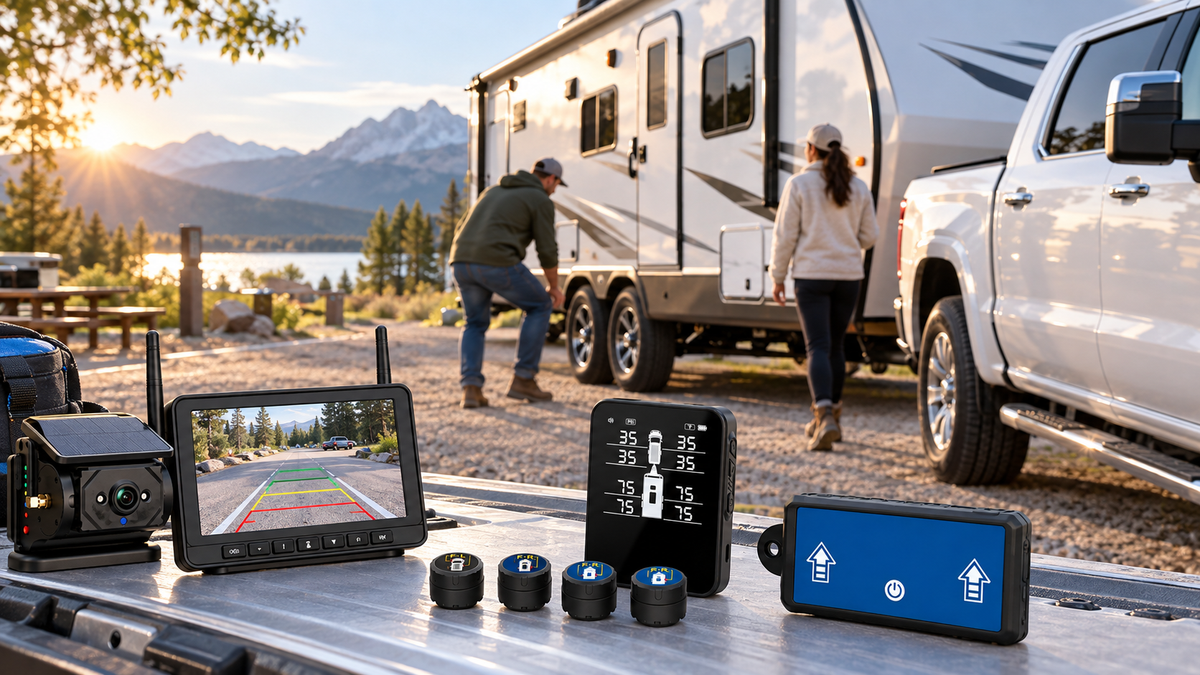
AM350-X wireless leveling can reduce repeated trips between the driver’s seat and the trailer during campsite setup. The AM100 RV TPMS adds live tire-pressure and temperature monitoring after the cold-pressure check. The AM700 backup camera provides a dedicated rear view during slow maneuvers. None replaces the physical inspection; each supports a specific part of the routine.
Frequently asked questions
Should one person or two people do the final check?
One person should own the final sequence so responsibility is clear, while a second person can verify lights and hitch details. Avoid assuming the other person completed an item.
When should I remove wheel chocks?
Follow the RV and hitch manufacturer’s sequence. The rig must be safely coupled and secured before chocks are removed.
How often should I check tire pressure on a trip?
Check cold pressure before travel days and inspect at stops. A TPMS can watch for changes while moving but does not replace manual checks.
What if the camera or TPMS does not connect?
Do not skip the underlying safety check. Inspect manually, troubleshoot in a safe location and travel only when you have the visibility and tire information required for a safe trip.
Next step: Browse AOMOSUR RV electronics or visit the Support Center for product manuals and setup help.