
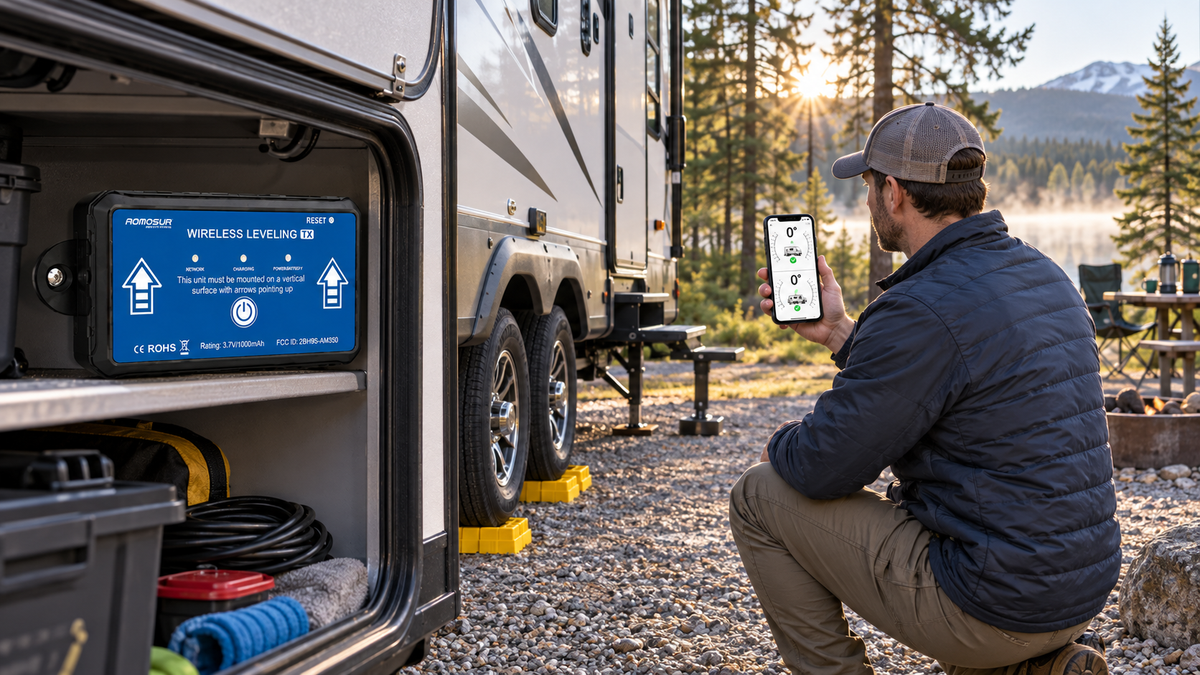
Short answer: an RV should be level enough that the floor feels comfortable, doors and drawers behave normally, water drains as intended and appliances operate within their manufacturers’ limits. The goal is a safe, stable setup—not spending half an hour chasing a display that reads exactly 0.0°.
That question appears often in owner forums. A recent r/traveltrailers discussion about different side-to-side readings shows how easily people can get conflicting measurements at the front, rear and countertop. Another highly discussed “sketchy leveling” thread is a reminder that achieving a number is never worth an unstable stack of blocks.
Leveling changes the RV’s position relative to the ground. Stabilizing reduces movement after the RV is level. Do not assume stabilizer jacks are designed to lift the vehicle; follow the RV and jack manufacturers’ instructions.
Why two level readings may disagree
An RV is not a laboratory surface. The frame can flex, counters may not be perfectly parallel to the floor, and a small level can sit on trim or texture. A phone may also need calibration, and a wireless sensor can report incorrectly if its mounting position changes.
- Different reference surfaces: the frame, floor, refrigerator shelf and countertop may not match exactly.
- Sensor calibration: the device must learn a trusted level reference.
- Mount movement: removing and reinstalling a sensor at a different angle changes the result.
- Load changes: water, cargo and people can shift the coach slightly.
- Ground settling: soil or blocks may compress after setup.
Choose one trustworthy reference
Start by following any appliance-specific or RV-specific leveling guidance in the owner manuals. Then establish one repeatable reference point inside the coach—often a solid section of floor or frame-aligned surface. Calibrate your digital level only after the RV has been verified at that reference.
Once calibrated, use the same sensor position every trip. Consistency is more useful than comparing several random surfaces that were never designed to match.
A safer eight-step RV leveling checklist
- Walk the site. Check slope, soft ground, holes, branches, hookups and slide clearance.
- Keep the RV hitched while measuring. Identify the low side before unloading or deploying equipment.
- Correct side-to-side first. Position rated blocks on stable ground and move onto them slowly.
- Chock the wheels securely. Prevent movement before unhitching.
- Adjust front-to-back. Use the tongue jack or approved leveling system as directed.
- Verify the interior reference. Check comfort, doors, drainage and any appliance requirements.
- Deploy stabilizers. Use them to reduce motion only if that is their intended function.
- Recheck after settling. Confirm blocks and jacks remain stable before extending slides or settling in.
How close to perfect is good enough?
There is no single universal angle that applies to every RV, refrigerator, air conditioner or leveling system. Older absorption refrigerators can have model-specific limits, while other equipment may tolerate more variation. Use the strictest relevant equipment guidance rather than a generic internet number.
For ordinary comfort, stop adjusting when the coach feels natural and the reference reading is within the limits required by your equipment. If reaching that point requires a tall or unstable arrangement, reposition the RV or choose another site.
Why wireless leveling reduces the back-and-forth
A 2026 discussion about an offline RV-leveling app highlights a familiar pain point: repeated trips between the driver’s seat and a level inside the trailer. A wireless sensor can show changes while the RV is moving onto blocks, which makes small corrections faster and easier to repeat.
The AOMOSUR AM350-X Wireless RV Leveling System uses an app-based display so a driver can view live pitch and roll during setup. Its magnetic mounting approach is convenient, but repeatable placement and correct calibration are essential for reliable readings.
Common RV leveling mistakes
- Using stabilizer jacks as lifting jacks when they are not rated for that purpose.
- Building a narrow or leaning tower of blocks.
- Unhitching before the wheels are chocked.
- Placing supports on soft soil without a suitable base.
- Extending slides before checking the RV manufacturer’s sequence.
- Calibrating a sensor on an unverified surface.
- Ignoring changes after heavy rain or ground settling.
Frequently asked questions
Does an RV need to read exactly 0.0°?
Usually the practical goal is to meet equipment limits and create a comfortable, stable coach. Exact zero is not worth unsafe blocking or excessive adjustment.
Should I level side-to-side or front-to-back first?
For many towable RVs, side-to-side correction happens while the trailer is still hitched, followed by chocking, unhitching and front-to-back adjustment. Follow the sequence specified for your RV.
Can stabilizer jacks level an RV?
Many stabilizers are intended only to reduce movement, not lift the RV. Use only equipment rated and approved for leveling.
Where should I place a wireless level sensor?
Use a rigid, secure surface that matches the product instructions and allows repeatable orientation. Recalibrate if the mounting location or angle changes.
Next step: View the AOMOSUR AM350-X or compare RV Leveling Systems.